Setting up Google reCAPTCHA with server side verification using Vue.JS and Python

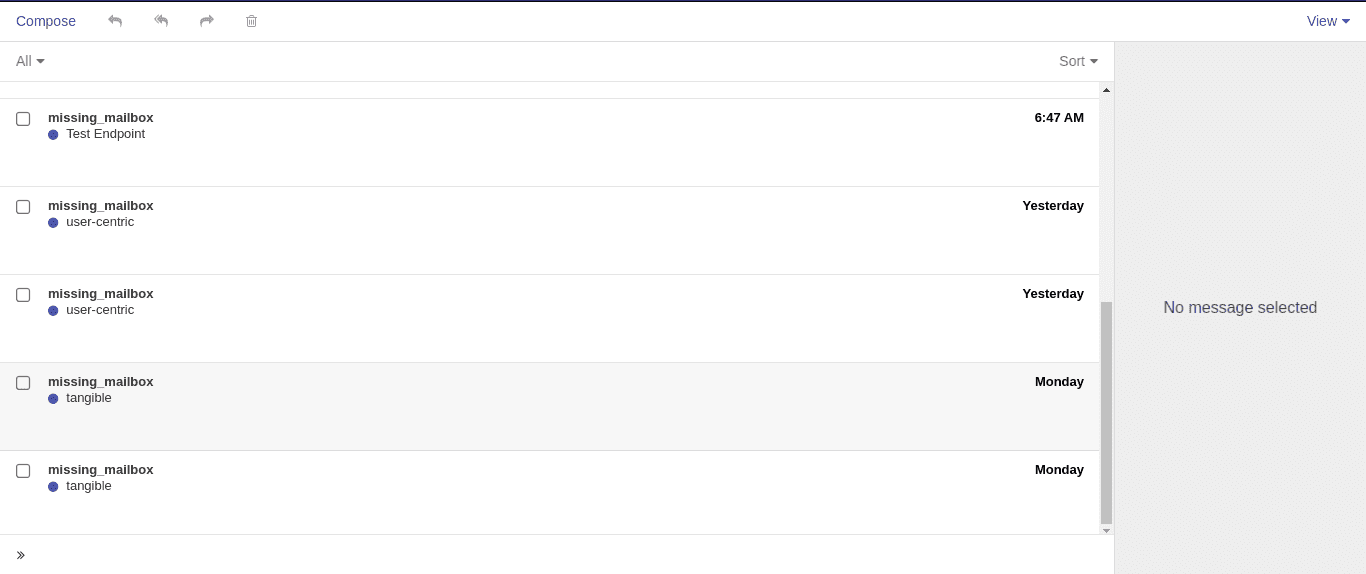
Ever since I launched my portfolio website early last year, my private mail box linked to the site's contact form has been a mess. I wake up daily to hundreds of meaningless bot-initiated spam mails, albeit often times with, legitimate sender email addresses.

I initially didn't bother much about it, but realizing that the said mailbox was a custom one, tied to my website's domain and included in my resume, thus by every justification needed to be sane, as official as possible and void of distracting content(I mean, I already got gmail for this), I knew I had to act --really fast!
This tutorial will outline how I utilized Google's old time security tool reCAPTCHA, to save my self.
Just before we dive in, here's a brief rundown of my portfolio site's architecture, so as to help you get a context and perhaps establish a use case for yourself just incase you already haven't.
Generally, my portfolio site is based on the popular JAMstack architecture, which simply means that my site at its core is a static site with no coupled server side functionality, but rather, utilizes Javascript(Vue.Js in my case) to communicate with custom APIs(Python in my case) hosted on a different platform for added functionalities.
That being said, my static site is hosted on Netlify and my APIs(including the form handler) are hosted on Deta. So when a visitor fills up my contact form and submits, a request with the form data is sent to the relevant endpoint via Javascript, this is then processed by the associated handler, and relevant data further tunneled to my private mailbox. Sweet innit?
Now that you have an understanding of my use case, let's get right down to business!

Step 1:
Setting up reCAPTCHA.
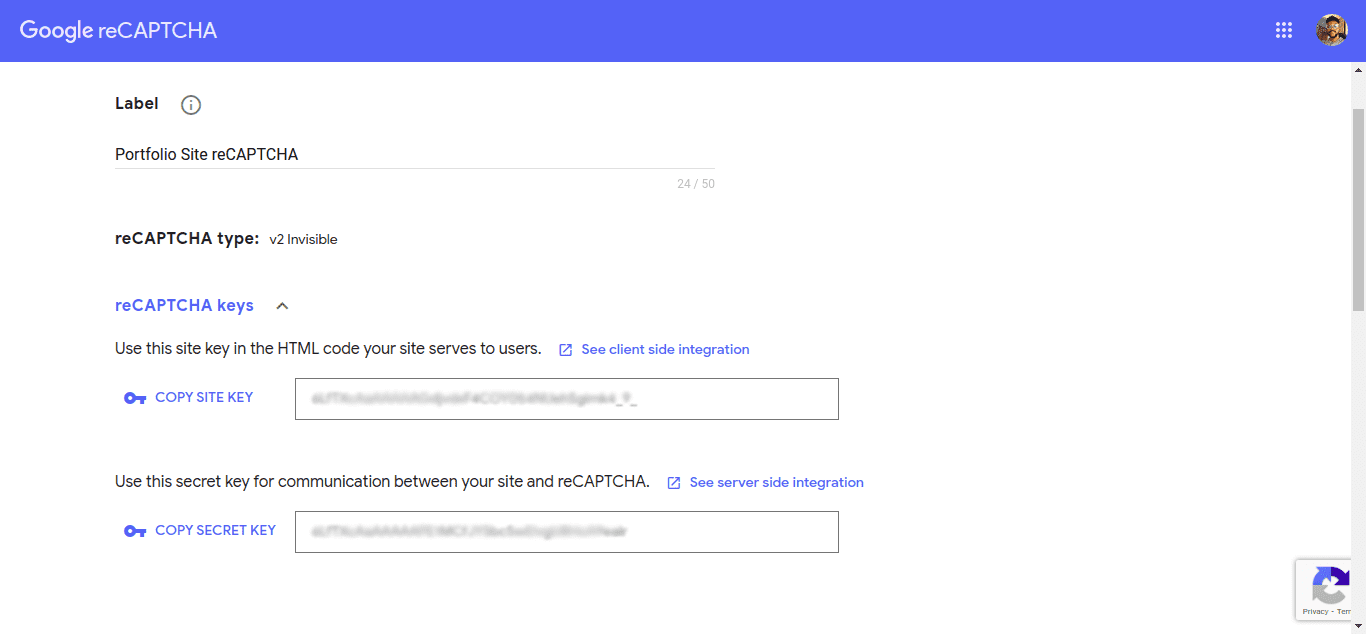
To be able to use reCAPTCHA on your site, you need to obtain a SITE KEY and SECRET KEY for your individual instance of reCAPTCHA.
To do this, head over to the reCAPTCHA homepage
- Click on
Admin Consoleon the navigation bar, This should now take you to the setup page where you need to provide basic information as to where and how you want to use reCAPTCHA, these information includes your domain name, the reCAPTCHA version(I'd be working with version 2) and type(I'd be using the invisible reCAPTCHA) and then most of all, you'd need to agree to the terms of service. Once you're done: - Go ahead and click on
Submit.

If everything goes well, you should now be on a new page showing you your SITE KEY and SECRET KEY. Copy these somewhere as you'd need it soon to be able to make calls to the reCAPTCHA service APIs.
Succesfully creating a reCAPTCHA instance automatically creates a dashbdoard for you that can be accessed here where you can always access and modify your reCAPTCHA settings and also get analytic insights for your instance usage. You can also always access your site and secret key from there.
Now that we have our keys, let's get down to writing some codes.
Step 2:
Adding reCAPTCHA to our site/form.
Assuming we have a simple contact form that collects visitor's first name, last name, email address, subject of enquiry and enquiry, let's try to setup a simple Vue app that binds to said HTML form.
    var contactForm = new Vue({
    el: '#app',
    data: {
        formData: {
            first_name: '',
            last_name: '',
            sender_email: '',
            message_subject: '',
            message_body: ''
        }
    },
})
Here, we just set up a vue app that would be initialized on an html element with id app. This app also contain data attributes(variables) wrapped in an object(formData) that we would soon bind to our HTML contact form.
Let's go ahead and do that:
    <div id="app">
        <form>
            <input v-model="formData.first_name" type="text" placeholder="Enter your firstname">
            <input v-model="formData.last_name" type="text" placeholder="Enter your lastname">
            <input v-model="formData.sender_email" type="email" placeholder="Enter your email">
            <input v-model="formData.message_subject" type="text" placeholder="Enter your enquiry subject">
            <textarea v-model="formData.message_body" placeholder="enter your enquiry"></textarea>

            <div id="recaptcha" v-show="" class="g-recaptcha"></div>

            <button @click.prevent="validateForm" type="submit">Submit</button>
        </form>
   </div>
Here, we declare a html form wrapped around by a div element with id app, as stated earlier, this is simply a way of giving Vue control of this element. Also we go ahead to bind the input values to our previously declared variables on our Vue instance. This way, whatever the user enters on these fields automatically becomes the values of the binded variables.
We also declare a child div inside the app div with id recaptcha and class g-recaptcha. This is where our recaptcha instance will be initialized. Notice also the use of the v-show directive, which simply just hides this element from being shown to our users.
The
v-showdirective simply adds adisplay:nonestyle rule to the invoking element, Thus our element will successfully be rendered in the DOM, only that it wont be visible to our users. Remember I'd mentioned eariler that I opted for the invisible reCAPTCHA?
The last thing worth noting on this form is the submit button. I attach a vue click event listener binded to a function that handles the form validation logic and on successful validation executes the reCAPTCHA which in turn calls the actual submit function as a callback. Don't worry if this sounds all complicated, it'll get clearer in a bit.
Here's what the validateForm() function looks like:
// ...
methods: {
    validateForm: function() {
        // perform your validations such as checking
        // for empty strings and valid emails here..
        //....
        grecaptcha.execute(); // execute reCAPTCHA
    },
}
Now let's put together the actual function to handle submission on successful form validation. Keep in mind, that form validation is not the same as the reCAPTCHA validation. In the form validation you'd mostly need to make sure the user provides desired inputs, after this is satisfied you can then go ahead and invoke reCAPTCHA by calling its execute() method.
// ...
submitForm: function(token) {
    var _this = this;
    _this.formData["recaptcha_token"] = token;
    var data = _this.formData;

    fetch('https://your-api.com/endpoint', {
    method: 'POST',
    headers: {
        'Content-Type': 'application/json',
        'Origin': 'https://your-site.com'
    },
    body: JSON.stringify(data),
    })
    .then(response => response.json())
    .then(data => {
    // validation was successful
    // perform actions..
    console.log('Success:', data);
    })
    .catch((error) => {
    // there was an error
    // perform actions..
    console.error('Error:', error);
    });
},
This function is called after the user interacts with the reCAPTCHA and clicks submit. It sends the form data as JSON via a POST request to our form handling service(API) using the Javascript Fetch API.
Notice the token argument passed to it. This is used to verify a user's response to a reCAPTCHA challenge and is automatically passed to any call back function specified on reCAPTCHA's render() function. This token is also what we are going to be using to validate the success of the user's reCAPTCHA challenge, this is why we send it alongside our form data by appending it to the formData object (_this.formData["recaptcha_token"] = token;).
Each reCAPTCHA user response token is valid for two minutes, and can only be verified once to prevent replay attacks. To get a new token, re-run the reCAPTCHA verification.
Now we need to do one last thing before we can wrap up our work on the client side. If you're familiar with third party Javascript apps like reCAPTCHA, you'd propably know already that we always need to initialize our app instances.
This is more like officially allocating a pre specified HTML element to be used and manipulated by a specific javascript function. Remember when we did something similar for Vue? Now let's give reCAPTCHA full control of the <div> with id recaptcha for it to do its work.
We do this by adding an initReCaptcha() function which we'd wrap in a Vue mounted() hook and further wrap in a JQuery on load event. This is because we want to make sure we perform the initialization only when we are sure every script, including the Google recaptcha API has successfully loaded, else we run into an undefined method error.
methods{
    //...
    initReCaptcha: function() {
        var _this = this;
        if(typeof grecaptcha === 'undefined') {
        _this.initReCaptcha();
        }
        else {
            grecaptcha.render('recaptcha', {
                sitekey: 'YOUR-SITE-KEY',
                size: 'invisible',
                badge: 'inline',
                callback: _this.submitForm // call submit function
            });
            grecaptcha.reset('recaptcha'); // reset reCAPTCHA challenge for subsequent submissions
        }
    },
},
mounted() {
    var _this = this;
    $(window).on('load', function() {
    _this.initReCaptcha();
    });
}
And yes, we are now through with setting things up on the client side, It's time to do the actual validation on our server side. Let's proceed.
Step 3:
Validating reCAPTCHA challenge on our server side.
For our server side, we are going to be using Flask a Python micro web framework, known for its ease of getting things up and running on the fly.
from flask import Flask, request, jsonify
import requests

app = Flask(__name__)

def verify_recaptcha(token):
    # verify passed recaptcha token
    if token != '':
        url = "https://www.google.com/recaptcha/api/siteverify"
        params = {
            'secret': YOUR_RECAPTCHA_SECRET_KEY', # Note: It's best to put this in an env var.
            'response': token,
        }
        verify_rs = requests.post(url, params=params, verify=True)
        response = verify_rs.json()
        if response['success'] == True:
            return True
        else:
            return False

@app.route('/api/sendmail', methods=["POST"])
def send_contact_mail():
    # Get sent json data
    data = request.get_json() # This contains other form data too.
    token = data['token']

    if verify_recaptcha(token):
        # Send contact form parameters to your email.
        # your mail logic goes here...
    else:
        # Return a failed response to the client side
        response = {"status":"fail", "message":"Message not sent, unable to validate reCAPTCHA!"}
        return jsonify(response)

if __name__ == "__main__":
    app.run()
And now, our server side is ready to receive and handle reCAPTCHA validation requests!
Worthy of note is that you'll need to add your domain to reCAPTCHA, as your registration is restricted to the domains you provide there. This you can do initially while setting up reCAPTCHA and subsequently by going to the
Domainssection on your admin dashboard. Essentially, you'll need to addlocalhostto your domains to be able to test reCAPTCHA while in development.
Full Client Side Code
Just in case you got lost trying to piece things up with the client side codes, not to worry, here's the full code all in one place for your copying pleasure :)
    <div id="app">
        <form>
            <input v-model="formData.first_name" type="text" placeholder="Enter your firstname">
            <input v-model="formData.last_name" type="text" placeholder="Enter your lastname">
            <input v-model="formData.sender_email" type="email" placeholder="Enter your email">
            <input v-model="formData.message_subject" type="text" placeholder="Enter your enquiry subject">
            <textarea v-model="formData.message_body" placeholder="enter your enquiry"></textarea>

            <div id="recaptcha" v-show="" class="g-recaptcha"></div>

            <button @click.prevent="validateForm" type="submit">Submit</button>
        </form>
    </div>

    <script src="https://www.google.com/recaptcha/api.js?render=explicit" async defer></script>

    <script>
        var contactForm = new Vue({
        el: '#app',
        data: {
            formData: {
                first_name: '',
                last_name: '',
                sender_email: '',
                message_subject: '',
                message_body: ''
            }
        },
        methods: {
            validateForm: function() {
                // perform your validations such as checking
                // for empty strings and valid emails here..
                //....
                grecaptcha.execute(); // execute reCAPTCHA
            },
            submitForm: function(token) {
                var _this = this;
                _this.formData["recaptcha_token"] = token;
                var data = _this.formData;

                fetch('https://your-api.com/endpoint', {
                method: 'POST',
                headers: {
                    'Content-Type': 'application/json',
                    'Origin': 'https://your-site.com'
                },
                body: JSON.stringify(data),
                })
                .then(response => response.json())
                .then(data => {
                // validation was successful
                // perform actions..
                console.log('Success:', data);
                })
                .catch((error) => {
                // there was an error
                // perform actions..
                console.error('Error:', error);
                });
            },
            initReCaptcha: function() {
                var _this = this;
                if(typeof grecaptcha === 'undefined') {
                _this.initReCaptcha();
                }
                else {
                    grecaptcha.render('recaptcha', {
                        sitekey: 'YOUR-SITE-KEY',
                        size: 'invisible',
                        badge: 'inline',
                        callback: _this.submitForm // call submit function
                    });
                    grecaptcha.reset('recaptcha'); // reset reCAPTCHA challenge for subsequent submissions
                }
            },
        },
        mounted() {
            var _this = this;
            $(window).on('load', function() {
            _this.initReCaptcha();
            });
        }
    })
    </script>
And there we have it, we have successfully set up reCAPTCHA challenge with server side validation for our contact form!
With that done, what then shall we say to the gods of spam bots? Never again!
